Removing a background from product photos gives you a reusable cutout, but the export still needs a careful review. A clean canvas is useful only if the product itself remains complete and recognizable. This guide walks through the free browser workflow in ShopCutout and the checks to make before a photo reaches a listing.
Choose a photo the background remover can read
Start with one clearly visible product. Leave some space around it and check that its outline is distinguishable from the background. A dark handle against a dark wall, for example, can be difficult to separate. A clearer source usually gives the model more useful information than a larger file containing the same ambiguous edge.
Avoid choosing an image with several overlapping items unless you want all of them retained as one subject. Also check whether an essential part is already cropped out of the original. Background removal cannot reconstruct a missing handle or restore text that was unreadable in the first place. Keep an untouched copy of the source so you can compare small details later.
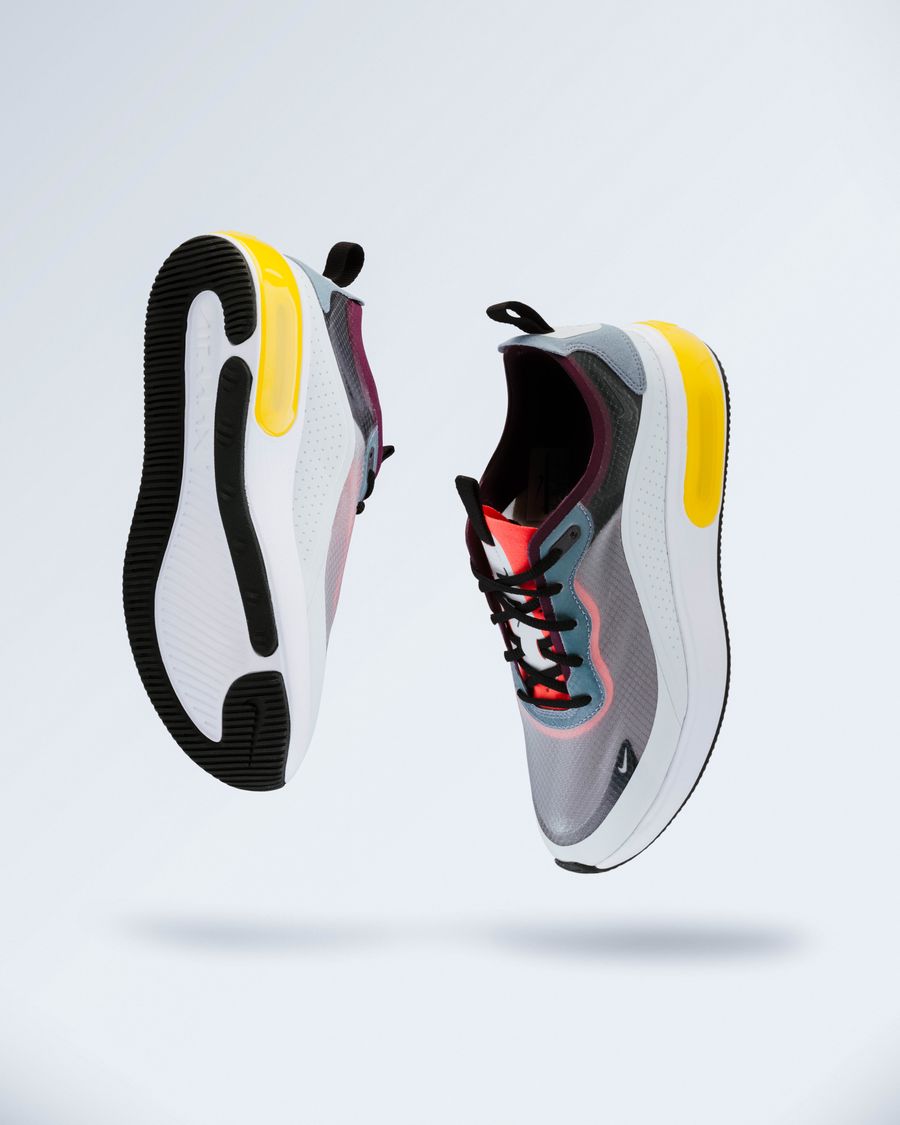
This is a sample source photograph, not a before-and-after comparison.
Remove the background from a product photo
Open the free background remover and choose a JPG, PNG or WebP. You can also use the sample photo to learn the controls before selecting your own files. The first run downloads the model and browser runtime from the site. Subsequent runs may use the browser's cached copies, though cache availability depends on your browser settings.
Select Remove backgrounds and keep the tab open. The image is processed on your device; this version does not send it to a cloud inference service. When the result is ready, switch between Original and Result to compare the product. Start with one photo even if you have a whole catalog. A suitable result on a representative item is a useful reason to continue with the batch; a poor result is a reason to improve the source or use manual editing.
Choose a background for the actual destination
Use a transparent background when the cutout needs to be placed on another canvas in a design tool. ShopCutout exports that choice as PNG. Choose white or a custom color when the image should already have its final backdrop; these options export as JPG. The format comparison guide explains the difference between a transparent asset and a finished listing image.
If you select a marketplace preset, check the new canvas and the amount of space around the subject. Presets resize and center the detected product. They do not decide whether the photograph is appropriate for a particular category or image position. Use the original-size option when you want to retain the source canvas rather than create a square export.
Inspect the edges, details and canvas
Review the areas most likely to need correction: straps, gaps between handles, loose fibers, reflective edges and transparent packaging. Look for a pale halo from the original background as well as details that have been cut away. Compare with the source at a useful viewing size rather than judging only the small preview.
Next, confirm that the entire item is still visible and that the product has comfortable room inside the canvas. A small photo enlarged to 2000 px may look acceptable in a thumbnail but soft at normal viewing size. Resizing changes the pixel dimensions; it does not recover missing photographic detail. Download one result and open it in your normal image viewer before applying the same settings to every file.
Know when to stop the automatic workflow
The free version uses a lightweight U²-Net model. It can be a convenient first pass for ordinary isolated products, but it is not a replacement for every type of retouching. Glass, jewelry reflections, fur and thin translucent materials can need a manual mask or a different editing workflow.
Do not use an imperfect cutout merely because the background is now white. If a model has changed the perceived shape of the product, go back to the original. Improving the lighting or contrast in a new photograph may be more useful than repeatedly running the same difficult input.
Frequently asked questions
Do I need an account to remove a product photo background?
No. The current free tool works without registration or a payment card. Photos are processed locally, with file and batch limits described beside the tool.
Can I use the edited photo commercially?
Only when you have the necessary rights to the original photo and its intended use. A background edit does not give you rights to a supplier's or photographer's image.
Will a square white export automatically pass marketplace review?
No. Dimensions and background color are only some of the considerations. Check the destination's current content and category rules and inspect the exported image yourself.
Finish with a file you have checked
To remove a background from product photos reliably, treat the automatic cutout as one step in a short review process. Choose a clear original, select the right background, and inspect the result you actually download. Once the first file looks suitable, the bulk product photo workflow can help you repeat the process without losing track of your sources.
Questions and contact
For questions about this page or the service, contact support@shopcutout.com